

Ripping out an old tile floor is easily one of the most punishing tasks in home renovation. Between the relentless clatter of a demo hammer, clouds of fine silica dust settling into every HVAC vent, and buckets of sharp ceramic debris hauled to a dumpster, it is an exhausting endeavor. It is completely natural to look at that outdated, worn tile and wonder if you can simply cover it up.
You can indeed install laminate flooring directly over existing tile. Professional contractors and savvy DIY renovators do it regularly to save considerable time, labor, and disposal costs. However, taking this shortcut without a thorough assessment of your existing floor can lead to bouncy boards, broken locking joints, and frustrating squeaks down the line. Laminate is exceptionally durable, but because it relies on a floating interlocking mechanism, the subfloor beneath it must meet strict standards.
Before picking out your favorite wood-look planks, you must evaluate the structural health of your tile, navigate height transitions, and handle surface preparation the right way.
How Floating Laminate Interacts with Rigid Tile
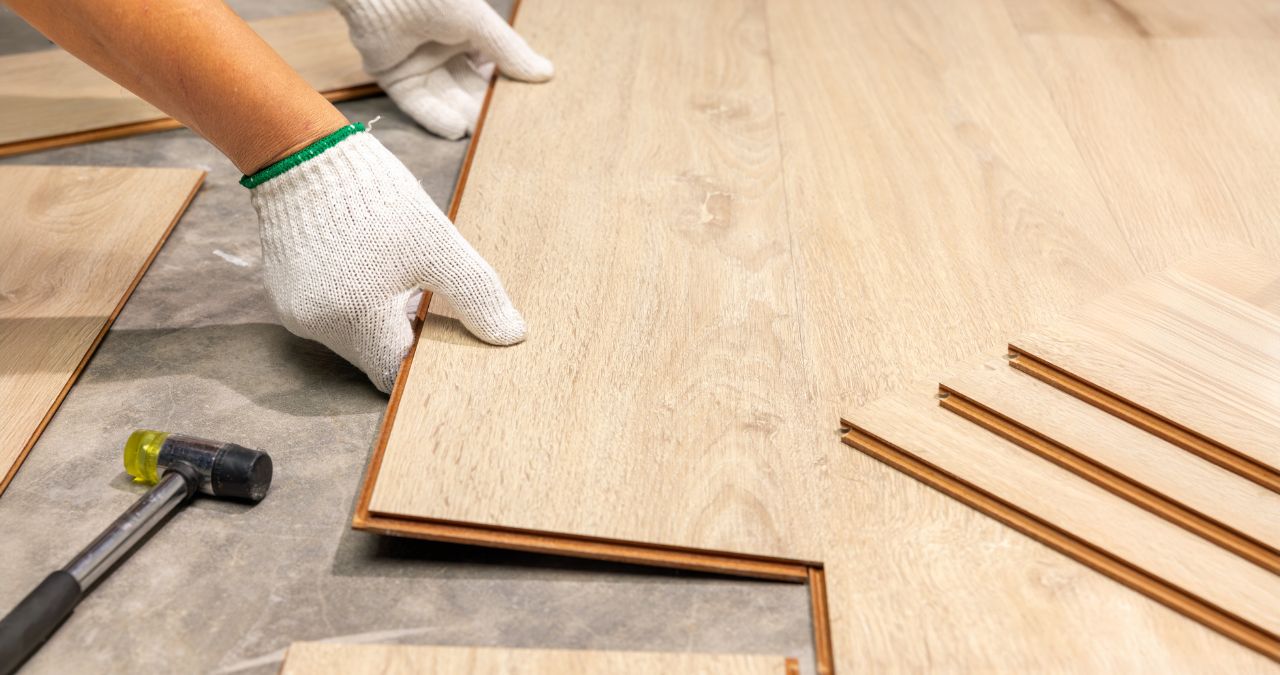
To understand why surface condition matters so much, you have to look at the mechanics of laminate flooring. Unlike traditional hardwood that is nailed down, or vinyl tile that is glued to the subfloor, laminate is engineered as a floating floor system. The individual planks interlock along their edges using precision-milled tongue-and-groove profiles, resting freely over the substrate without any direct mechanical fastening.
Tile is inherently rigid and unyielding. When tile is bonded correctly to a sound subfloor, it provides an exceptionally sturdy, deflection-free foundation that easily supports the weight and traffic of a floating floor. The danger lies in surface irregularities. If the tile surface has high spots, dips, or wide depressions, the floating floor will bridge across those gaps. Every time someone steps on an unsupported area, the planks flex downward. Over time, that repeated movement stresses the brittle fiberboard cores of the click-lock mechanisms, ultimately causing the joints to separate, crack, or creak.
The Pre-Installation Tile Audit
You cannot simply assume an existing tile floor is ready for a new covering just because it looks intact on the surface. A systematic inspection will reveal whether your floor is an ideal candidate or a hidden problem waiting to surface.
Testing for Soundness and Structural Bond
A floating floor is only as stable as the surface beneath it. If your tiles are loose, shifting, or breaking away from their mortar bed, laying laminate on top will not fix the underlying structural movement.
Walk the entire room and perform a simple tap test. You can tap the center and corners of each tile using the wooden handle of a broom, a heavy screwdriver handle, or a golf ball. A properly bonded tile produces a sharp, high-pitched click. A debonded or poorly supported tile will emit a distinctly hollow, dull thud. Mark any hollow-sounding tiles with painter’s tape. A few isolated loose tiles can be repaired, but if widespread sections of the floor have lost their bond to the concrete or backer board, the tile must be removed entirely before installing any new flooring.
Checking Flatness Versus Levelness
A subfloor does not necessarily have to be perfectly level to the center of the earth, but it must be exceptionally flat. Standard manufacturer specifications for laminate flooring generally require the subfloor to be flat within 3/16 inch across a 10-foot radius (or roughly 1/8 inch over a 6-foot span).
Place a long 6-foot or 10-foot straightedge—or a rigid aluminum carpenter’s level—across multiple areas of your tiled room, rotating it like the hands of a clock. Look for gaps underneath the edge or points where the straightedge rocks back and forth over a high point. High corners where adjacent tiles were laid unevenly, known in the flooring trade as lippage, are common in older tile installations and must be addressed before proceeding.
Measuring Grout Line Width and Depth
Pay close attention to your grout channels. Modern rectified tiles often have narrow, hairline grout joints of 1/16 inch, which create almost no disturbance beneath laminate underlayment. In contrast, older ceramic squares or rustic terracotta tiles frequently feature grout joints spanning 1/4 inch to 1/2 inch in width, often recessed deeply below the tile face.
If a plank seam happens to align directly above an unfilled, wide grout line, normal foot traffic will force the edge of the board into the void, fatiguing the locking tongue. Any grout depression deeper than 1/16 inch or wider than 1/8 inch needs to be filled flush with the surrounding tile face.
The Overlooked Obstacles: Height, Clearances, and Transitions
While laying laminate over tile saves days of demolition, it adds vertical height to your living space. A typical laminate installation consists of planks ranging from 7mm to 12mm in thickness, paired with an underlayment pad of 2mm to 3mm. That means your finished floor will sit anywhere from 3/8 inch to 5/8 inch higher than the original tile surface. Failing to anticipate this elevation change causes serious secondary problems.
Interior Doors and Trim
As the floor rises, clearance under existing door slabs disappears. Standard interior passage doors may drag or fail to close entirely. You will need to check every door swing in the room. If clearance is insufficient, remove the doors and trim the bottoms using a circular saw guided by a straight edge. Furthermore, you will need an oscillating multi-tool to undercut door jambs and casing so the laminate can slide cleanly underneath with room for natural expansion.
Kitchen Appliances and Cabinets
The most notorious hazard of overlaying tile occurs in the kitchen, specifically with the dishwasher. Dishwashers are manufactured to fit precisely into an opening beneath a standard 36-inch countertop. If you run laminate up to the base of the cabinet toe-kicks, creating a finished floor that traps the front feet of the dishwasher, the appliance will be permanently locked into its bay. If it ever requires service or leaks, you will have to rip up your new floor just to slide the machine out. Always verify that there is enough vertical clearance between the top of the dishwasher and the underside of the counter before raising the floor.
Room-to-Room Transitions
Unless you are running the same laminate continuously throughout the entire home, raising the floor height creates an uneven threshold at adjoining rooms. You must choose appropriate transition strips to bridge the gap gracefully:
-
T-moldings are used when the adjacent room sits at the exact same finished height as the new laminate.
-
Reducers are required when bridging the height difference down to a lower surface, such as low-profile vinyl or bare concrete.
-
End caps (or baby thresholds) work best against high-pile carpet edges or sliding glass patio door tracks.
Essential Surface Preparation Steps
Once you confirm that the floor is structurally sound and height obstacles can be managed, you must prep the surface thoroughly. Skipping prep work on a tile substrate is the primary reason overlay installations fail.
1. Fix Loose and Damaged Tiles
If you identified a handful of loose or cracked tiles during your initial audit, remove them. Chisel out the loose pieces and scrape the exposed subfloor to remove crumbling thinset mortar. You do not need to replace them with expensive matching tile; simply fill the resulting void with a fast-setting cementitious patching compound until the patch sits completely flush with the surrounding tile surface.
2. Strip Away Grease, Wax, and Surface Residue
Tile surfaces accumulate invisible layers of floor wax, soap scum, cooking oil, and grease over years of use. These residues prevent patching compounds and leveling underlayments from bonding mechanically. Scrub the entire surface thoroughly with a heavy-duty cleaner such as trisodium phosphate (TSP) or an abrasive degreaser, then rinse with clean water and let it dry completely.
3. Eliminate Lippage and Fill the Grout Joints
To satisfy the strict flatness requirements of laminate flooring, you must create a smooth, continuous surface plane:
-
Grind Down High Spots: If specific tile edges sit noticeably higher than their neighbors, grind them down using an angle grinder equipped with a diamond cup wheel and a dust-shroud attachment connected to a HEPA vacuum.
-
Skim-Coat the Grout Channels: Apply a self-drying, polymer-modified feather-finish patching compound across the entire tiled surface with a wide flat trowel. Force the compound deep into wide grout joints and low depressions. This creates a uniform, flat plane and guarantees that no void can telegraph through or undermine the planks above.
Moisture Protection and Underlayment Selection
A common misconception is that tile acts as a waterproof barrier that protects the laminate above it. While the glazed surface of a ceramic tile is impervious to water, the grout lines are porous. More importantly, if your tile is installed over an on-grade or below-grade concrete slab, moisture vapor constantly travels upward through the concrete via hydrostatic pressure.
If this moisture vapor reaches the underside of your laminate planks, it becomes trapped. The dense core of the laminate absorbs the trapped moisture, resulting in swollen edges, peaking seams, and mold growth.
To protect your investment:
-
Install a Vapor Barrier: If the tile is set over concrete, always roll out a continuous 6-mil polyethylene moisture barrier over the prepared tile before laying down planks, overlapping the seams by at least 8 inches and sealing them with moisture-resistant tape.
-
Choose the Right Underlayment: If your laminate planks do not come with a pre-attached acoustic pad, roll out a high-density, closed-cell foam or felt underlayment. Avoid thick, squishy padding; excessive cushion creates vertical movement under heavy footsteps, which places unnecessary strain on the laminate locking tabs.
Best Practices for Installing Over Tile
With the prep work complete, the actual installation follows standard floating floor techniques, though a few trade practices ensure a quiet, long-lasting floor:
-
Acclimatize the Planks: Never install cold or humid laminate straight from a truck. Store the unopened boxes flat in the room where they will be installed for at least 48 hours to allow the materials to balance with the home’s ambient temperature and relative humidity.
-
Maintain Expansion Space: Laminate expands and contracts as indoor humidity shifts throughout the seasons. Maintain a strict 3/8-inch expansion gap between the edge of the flooring and all vertical obstacles, including walls, cabinet bases, and pipes. Baseboards and quarter-round moldings will conceal this gap once the installation is complete.
-
Stagger the End Joints: Ensure the short end joints of adjoining rows are offset by at least 8 to 12 inches. Avoid repeating joint patterns across rows, which creates structural weak points and an unnatural visual appearance.
When You Should Demolish the Tile Instead
Overlaying tile is a fantastic solution in many homes, but it is not a universal fix. There are specific conditions where removing the tile is the only professional, sensible option:
-
Pervasive Structural Failure: If large swathes of the floor sound hollow, or if wide structural cracks run continuously across multiple tiles and grout joints, the subfloor beneath is flexing or shifting. Covering it merely conceals an active failure that will quickly destroy your new laminate.
-
Severe Height Restrictions: If your exterior doors swing inward directly over the floor and cannot be trimmed, or if building codes mandate specific threshold clearances, adding the thickness of laminate on top of tile may be physically impossible.
-
Natural, Uneven Cleft Stone: Slate, flagstone, or irregular travertine floors often feature dramatic natural ridges, clefts, and height variations exceeding 1/2 inch. Flattening this type of rustic stone with patching compound requires an excessive amount of leveling material and labor, making mechanical demolition the faster, more economical choice.
Taking the time to stabilize loose areas, smooth out deep grout lines, and verify critical clearances transforms an old, dated tile surface into an outstanding substrate. By investing your energy into proper preparation, you can achieve a stunning, rock-solid laminate floor that looks and performs like new construction—without the misery of a messy demolition.
Comments are closed.