

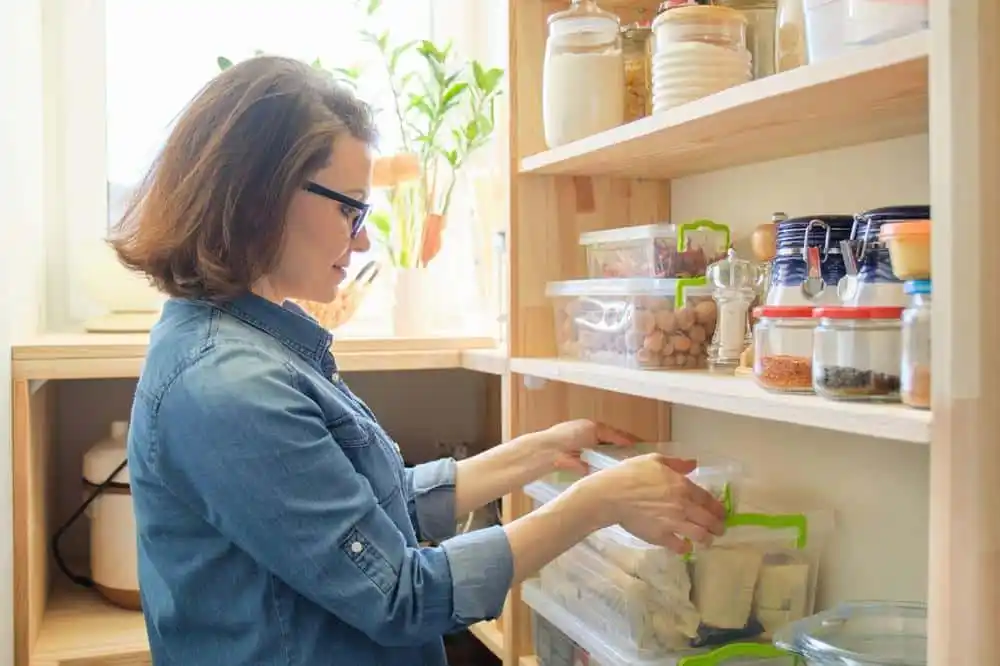
Deep pantry shelves are one of the most celebrated features in modern home design, yet they remain one of the most frustrating to use. Builders love them because they boast impressive cubic footage on paper, but in daily practice, any shelf deeper than fourteen inches quickly turns into a culinary black hole.
Cans of coconut milk migrate to the dark rear corners, artisanal sauces slide behind cereal boxes, and bags of whole grains slowly go rancid in total obscurity. Before long, you find yourself purchasing a third container of baking powder because you could not see the two already sitting six inches past your natural line of sight.
Eliminating pantry waste is not a matter of buying matching aesthetic jars or spending hours color-coding spice jars. It is a matter of visual inventory management and physical accessibility. When you organize a deep pantry around human behavior and sightlines, food gets used before it spoils, grocery bills drop, and weeknight cooking becomes significantly less chaotic.
The Structural Flaw of Deep Shelving
To fix a deep pantry, you first have to understand why standard organizing advice fails inside it. Most shelving units measure twelve to fourteen inches deep, which aligns well with the average adult arm reach and field of view. When shelves stretch eighteen, twenty-four, or even thirty inches deep, traditional stacking methods collapse.
The root problem is visual friction. If using an ingredient requires physically moving three other items out of the way, the brain registers that movement as effort. During a hurried Tuesday dinner preparation, nobody unloads four cans of beans to check what sits against the back drywall. You reach for what is visible, push existing items backward to make room for fresh groceries, and inadvertently sentence older items to expiration.
To prevent spoilage, every organizational system you install must serve a single mechanical goal: making the rear of the shelf move to you, rather than forcing you to reach into the dark for it.
The Reset: Purging and Categorizing by Culinary Workflow
Before introducing any bins or hardware, empty the entire space. Cleaning off every shelf is non-negotiable because it forces an immediate reckoning with what has already expired and reveals how your household actually uses groceries.
Toss anything past its prime, compost stale dry goods, and wipe down the shelving surfaces. As you sort through the remaining inventory, avoid the common mistake of sorting purely by packaging format, such as putting every cardboard box together and every glass jar together. Grouping all cans in one spot sounds logical until a can of sweetened condensed milk sits hidden behind three cans of crushed tomatoes.
Instead, sort your food into functional culinary zones based on meal preparation habits:
-
Weeknight dinner foundations: Pasta, canned tomatoes, broths, and quick-cooking grains.
-
Breakfast staples: Oatmeal, pancake mixes, syrups, and nut butters.
-
Baking essentials: Flours, sugars, leaveners, extracts, and cocoa powders.
-
Snacks and grab-and-go items: Crackers, dried fruits, nuts, and school lunch items.
-
Global sauces and condiments: Soy sauces, vinegars, curry pastes, and specialty oils.
When items are grouped by how they are cooked rather than how they are packaged, you can immediately tell whether you have the components for a complete meal without digging through mismatched items.
Hardware and Layout Strategies for Deep Shelves
Transforming a deep flat surface into functional storage requires hardware that creates depth-wise mobility. You do not need an expensive custom renovation to achieve this; you just need tools that simulate the utility of pull-out drawers.
Deep Pull-Out Bins and Handled Trays
Clear, narrow acrylic or sturdy wire bins that match the actual depth of your shelves are the single most effective tool for deep storage. A twenty-two-inch clear bin essentially functions as an aftermarket drawer.
Instead of hunting for an obscure jar against the back wall, you pull the entire bin forward by its handle, view the contents from an overhead perspective, grab what you need, and slide it back into place. These bins keep loose packages, pouches, and small jars from getting knocked over or swallowed by larger boxes. Always measure your shelf depth before shopping; buying twelve-inch bins for a twenty-four-inch shelf leaves half your storage space wasted behind the containers.
Heavy-Duty Turntables for Awkward Corners
If your deep pantry wraps around an interior corner, standard bins will leave massive triangular dead zones. Corner spaces are notoriously dark and difficult to navigate.
Install a heavy-duty turntable, commonly known as a Lazy Susan, measuring fourteen to eighteen inches in diameter. Turntables are ideal for tall, unstable items like cooking oils, vinegars, marinades, and hot sauces. A simple half-rotation brings ingredients from the farthest corner directly to your fingertips without knocking adjacent bottles onto the floor.
Stadium Risers for Canned Goods
For shelves dedicated to canned goods where you prefer not to use bins, multi-tiered risers are indispensable. By elevating each subsequent row of cans by an inch or two, you maintain a clear sightline over the tops of the front row.
When you can read every label at a single glance, you eliminate duplicate purchases and ensure that cans approaching their expiration dates are immediately visible when planning meals.
Eliminating Shadows with Strategic Lighting
Even the best layout fails if the back twelve inches of your pantry remain pitch black. Deep shelves naturally block ambient room light, casting heavy shadows across the rear storage plane.
Affix battery-operated or rechargeable LED strip lights directly to the underside of each shelf, positioning them toward the front edge facing inward. Illuminating the full depth of each tier instantly increases inventory awareness. If you can see an ingredient without craning your neck or pulling out your phone flashlight, you are exponentially more likely to cook with it.
The FIFO Inventory System for the Home Kitchen
Commercial restaurant kitchens operate under a strict principle called FIFO: First In, First Out. The oldest inventory is always used before the newest stock, ensuring minimal spoilage. You can adapt this commercial discipline to your home pantry without running a complex spreadsheet.
The Restocking Habit
The primary cause of pantry spoilage occurs during the unpacking of new groceries. When home cooks bring home three new cans of black beans, the instinct is to shove them directly onto the front of the shelf, pushing the older cans deeper into the dark.
Break this cycle by adopting a deliberate restocking habit:
-
When unpacking, slide older cans, grains, or snacks forward to the front edge of the bin or shelf.
-
Place the newly purchased items directly behind the older stock.
-
For bulk dry goods that share an open container, finish the remaining portion before opening and pouring a new bag into the jar.
This five-second adjustment ensures your household naturally works through existing inventory before tapping into newly purchased reserves.
Decanting Wisely Without Losing Critical Information
Decanting dry goods like rice, pasta, and flour into clear airtight containers prevents pest infestations and looks tidy, but it introduces a major expiration risk: the loss of manufacturer dates and cooking times.
If you transfer staples into clear canisters, never discard the packaging until you preserve the vital details. Cut the expiration date and cooking instructions off the cardboard box and tape it to the underside or back of the container. Alternatively, keep a grease pencil or chalk marker in a pantry drawer to write the month and year of purchase directly onto the glass or plastic lid. It wipes off easily when you wash the container, but it prevents the mystery of wondering whether that container of whole-wheat flour is two months or two years old.
Vertical Zoning: Matching Frequency to Reach
A pantry should be mapped vertically according to how often your body interacts with each shelf. Treating all shelf tiers equally leads to clutter and neglected ingredients.
The Eye-Level Prime Zone (Belly button to shoulder height): This is your high-traffic real estate. Place everyday essentials here—the grains you cook multiple times a week, current snack bins, daily lunch components, and baking staples. Because this zone sits directly in your natural sightline, items placed here move faster than anywhere else.
The Lower Mid-Tier (Knee to hip height): Reserve this level for heavier everyday items. Deep pull-out baskets containing root vegetables, heavy canned goods, stocks, and secondary grains fit best here, where lifting them does not place strain on your shoulders or lower back.
The Floor and Base Level: Use the bottom floor area for bulk overflow, oversized items, and heavy containers. Large airtight tubs for twenty-pound bags of rice, spare paper goods, or heavy Dutch ovens belong on the floor. If you store heavy bags of flour or pet food here, place them on wheeled plant caddies or rolling storage bins so you can roll them out effortlessly to vacuum the baseboards.
The Upper Reaches (Above head height): Top shelves should hold lightweight, infrequently used goods. Paper towel reserves, seasonal cookie cutters, holiday table linens, and specialty appliances like dehydrators or roasting pans belong at the top. Since visibility is low, label every bin on this shelf with large, high-contrast lettering so you know what is stored there without climbing a stepladder.
The “Eat Me First” Staging Area
Even with excellent organization, there will always be items on the verge of expiration: half-opened bags of chips, crackers that are losing their crispness, a specialty spice blend purchased for a single recipe, or cans nearing their printed date.
Designate a single, brightly labeled bin on your primary eye-level shelf as the Eat Me First station.
Whenever you conduct a quick shelf scan or unpack groceries, toss items approaching their end-of-life cycle into this bin. Make it a household rule that lunch snacks or weeknight side dishes come out of this caddy before anyone cracks open a fresh package. For home cooks, this bin acts as immediate recipe inspiration, prompting you to build a dinner around the ingredients that need to be used within the next seven days.
Maintaining the System
No organizational setup survives long-term without a brief, regular maintenance rhythm. The best time to maintain your deep pantry is five minutes before you sit down to write your weekly grocery list.
Open the pantry, pull your clear bins forward, and quickly survey your stock. Check the Eat Me First station to see what needs incorporating into the upcoming week’s meal plan, and note any items that are running low. By pairing inventory review directly with meal planning, you turn pantry maintenance into a seamless habit rather than an overwhelming seasonal chore.
Organizing a deep pantry does not require perfection; it requires functional systems that work with the physical limitations of the space. By pulling the back of your shelves forward with deep bins, illuminating dark corners, and establishing a consistent front-loading routine, you protect your household budget, reduce unnecessary food waste, and create a kitchen that feels effortless to cook in.
Comments are closed.